Description
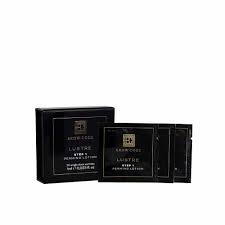
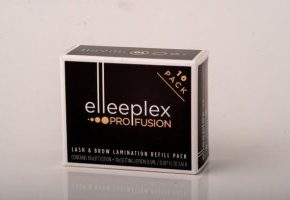
This product has been specifically designed for refilling your original Lustre Lamination Kit. Brow Code’s Brow Perming Solution is Step 1 in the Lustre Lamination Kit. Step 1 is where the chemical process breaks down the bonds within each hair, allowing them to morph and move into a new shape.
Includes:
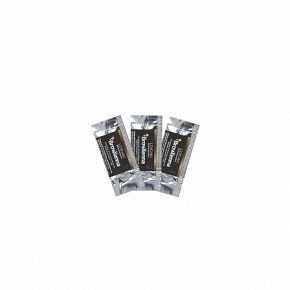
- 20 x 1ml Sachets of Step 1
Features:
- Made in Italy: This formula has been made in the best laboratory practices in cosmetic manufacturing.
- Air-tight Sachets: The ingredients won’t oxidise with air exposure, ensuring the integrity of the ingredients for a more effective, long-lasting result. Each sachet is single-use and perfect for portion control.
STEP 1 – Use Brow Code Micellar Remover to ensure your client’s skin is completely clean and ready for the lamination treatment. Simply dampen a cotton pad with the Micellar Remover to remove any make-up products from the brows and the surrounding area.
FOR OPTIMUM RESULTS, APPLY YOUR BROW CODE BROW TINT IN BETWEEN LAMINATION SOLUTION STEPS 2 & 3
STEP 2 – Apply Brow Adhesive evenly through your client’s brow in a thin layer. Use a disposable spoolie brush to comb & fix the hairs in place in an upward direction. Ensure you are setting the brow in the exact direction you wish to laminate the hairs in.
STEP 3 – On top of the adhesive layer, apply ½ a sachet of Step 1 (Brow Perming Solution) to one of your client’s brow in an upwards motion. One sachet services both eyebrows. Apply the solution to the hair area only.
STEP 4 – Cover brow with the Brow Wrap & make sure the hairs are fixed in an upright position. Perform Step #2 and Step #3 to the other brow. Leave to process for 5 to 9 minutes depending on your client’s hair type (no longer than 9 minutes):
- Very Thin or Fine Brow Hairs: 5-7 minutes
- Medium or Normal Brow Hairs: 7-8 minutes
- Coarse or Stubborn Hairs: 8-9 minutes
STEP 5 – Remove the Brow Wrap from your client’s first brow. Use a dry cotton tip to remove the Brow Perming Solution from your client’s eyebrow in an upwards motion.
STEP 6 – Apply ½ a sachet of Step 2 (Brow Fixing Solution) to one brow using a new cotton tip. One sachet services both eyebrows. Cover your client’s brows with Brow Wrap & make sure the hairs are fixed in an upright position. Leave to process for 5 to 9 minutes depending on your client’s hair type (no longer than 9 minutes). Perform step #5 and Step #6 to the other brow
STEP 7 – Remove the Brow Wrap from your client’s first brow. Use a dry cotton tip to remove the Brow Fixing Solution from your client’s eyebrow in an upwards motion. Perform Step #7 to the other brow. If desired, apply Brow Code Tint using the Brow Code 122 Brush to add colour to the brows. Please be mindful that lamination increases the depth of colour. Take care with the timing process for tint by watching the development of the colour closely. Make sure the tint removal process is done using a dry cotton tip. You can now wax your client’s brows if needed.
STEP 8 – Apply one sachet of Step 3 (Brow Keratin Nourish Cream) to each brow. One sachet services both eyebrows in an upwards motion. Using a spoolie, brush the cream evenly through your client’s brows. Remove after 2 hours with a dry cotton tip or pad.
